How to Create a Zap with Wallafan's "New Post", "New Product" and "New Follower" Triggers
Automate your workflows by connecting Wallafan to hundreds of other services with Zapier. This guide will walk you through creating a Zap that triggers whenever you make a new post or add a new product to your shop on Wallafan, or when a user follows you.
Versioning: Zapier Integration V.1.0
Prerequisites
- A Wallafan Platinum account
- A Wallafan Authentication Token
- A Zapier account
How to generate your Authentication Token
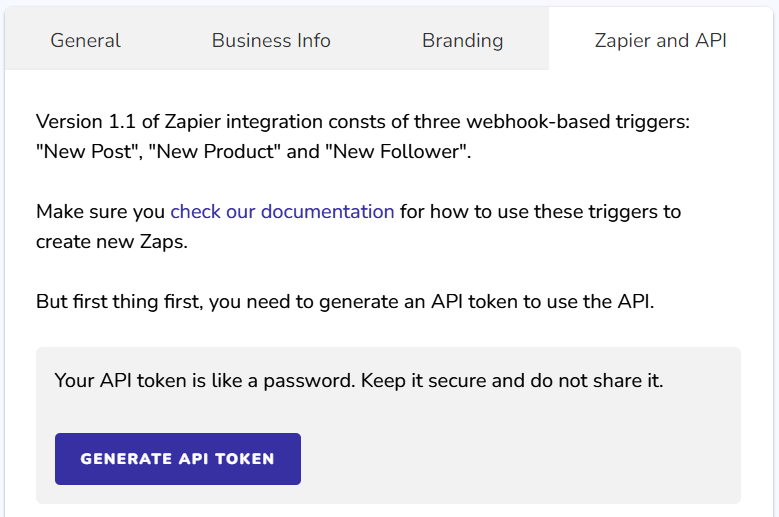
You can generate your personal Authentication Token from the Zapier and API tab on the My Account section of your Wallafan profile.
- Login to your account on Wallafan
- Goto your account settings and open the Zapier and API tab
- Click on Generate Token, save it somewhere safe and confirm that you have saved it
Note: for security reasons, you won't be able to access your token once confirmed that you saved it. If you lose it or you believe it got compromised, revoke it by clicking on Revoke Token immediately and generate a new one, and don't forget to update authentication on Zapier with your new token.
Now that you have your Authentication Token, you can start creating your first Zap on Zapier or directly from your Wallafan account settings page.
Step 1: Start Creating Your Zap
- Log in to your Zapier account.
- Click on Make a Zap button at the top right corner.
Step 2: Set Up the Trigger
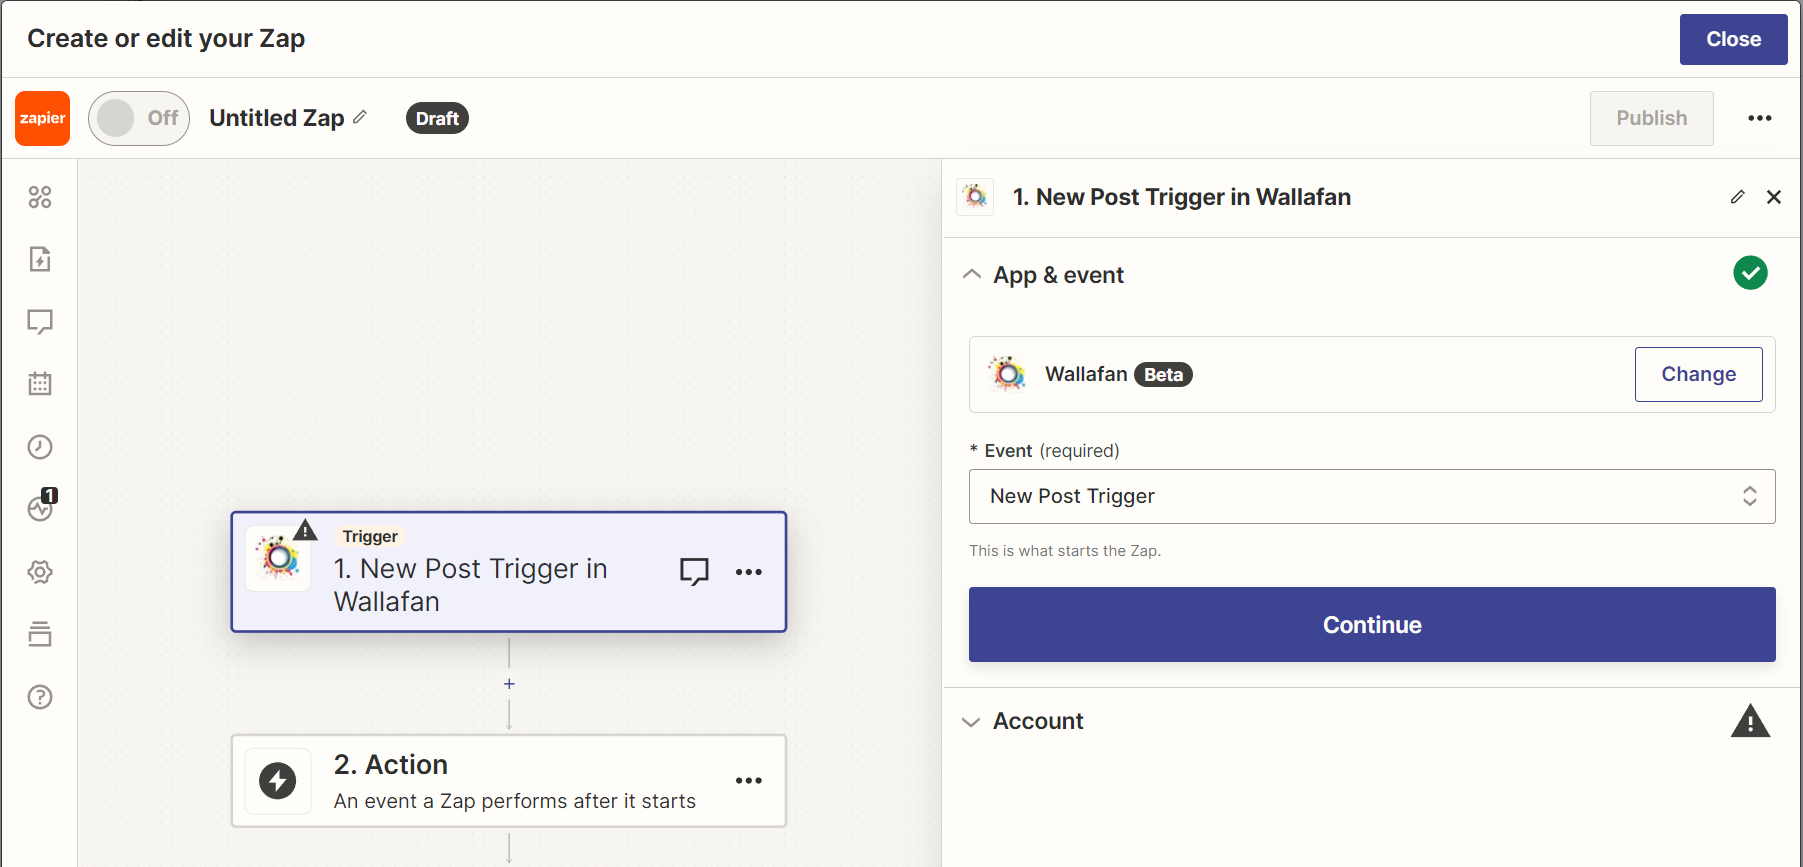
- Search for the Wallafan app in the trigger app search bar.
- Select the Wallafan app.
- In the trigger event dropdown, select "New Post". This event triggers whenever a new post is made on Wallafan. Or choose "New Follower" if you want to collect and use your followers contact details on other apps every time you get followed. Keep in mind that for GDPR and Privacy compliance, only new followers who have opted-in to share their contact details will trigger this event. Or select "New Product" to automate actions whenever you add a new product to your shop on Wallafan.
- Click Continue.
- Connect your Wallafan account by signing in. Zapier will prompt you to authenticate and connect your Wallafan account if not already done: you will need to provide your Wallafan Authentication Token.
- Test the trigger to ensure Zapier can connect to Wallafan and access posts or followers or products.
- Once the test is successful, click Continue.
Step 3: Choose an Action
Now that your trigger is set up, decide what should happen in another app when a new post is made or a new user follows you on Wallafan.
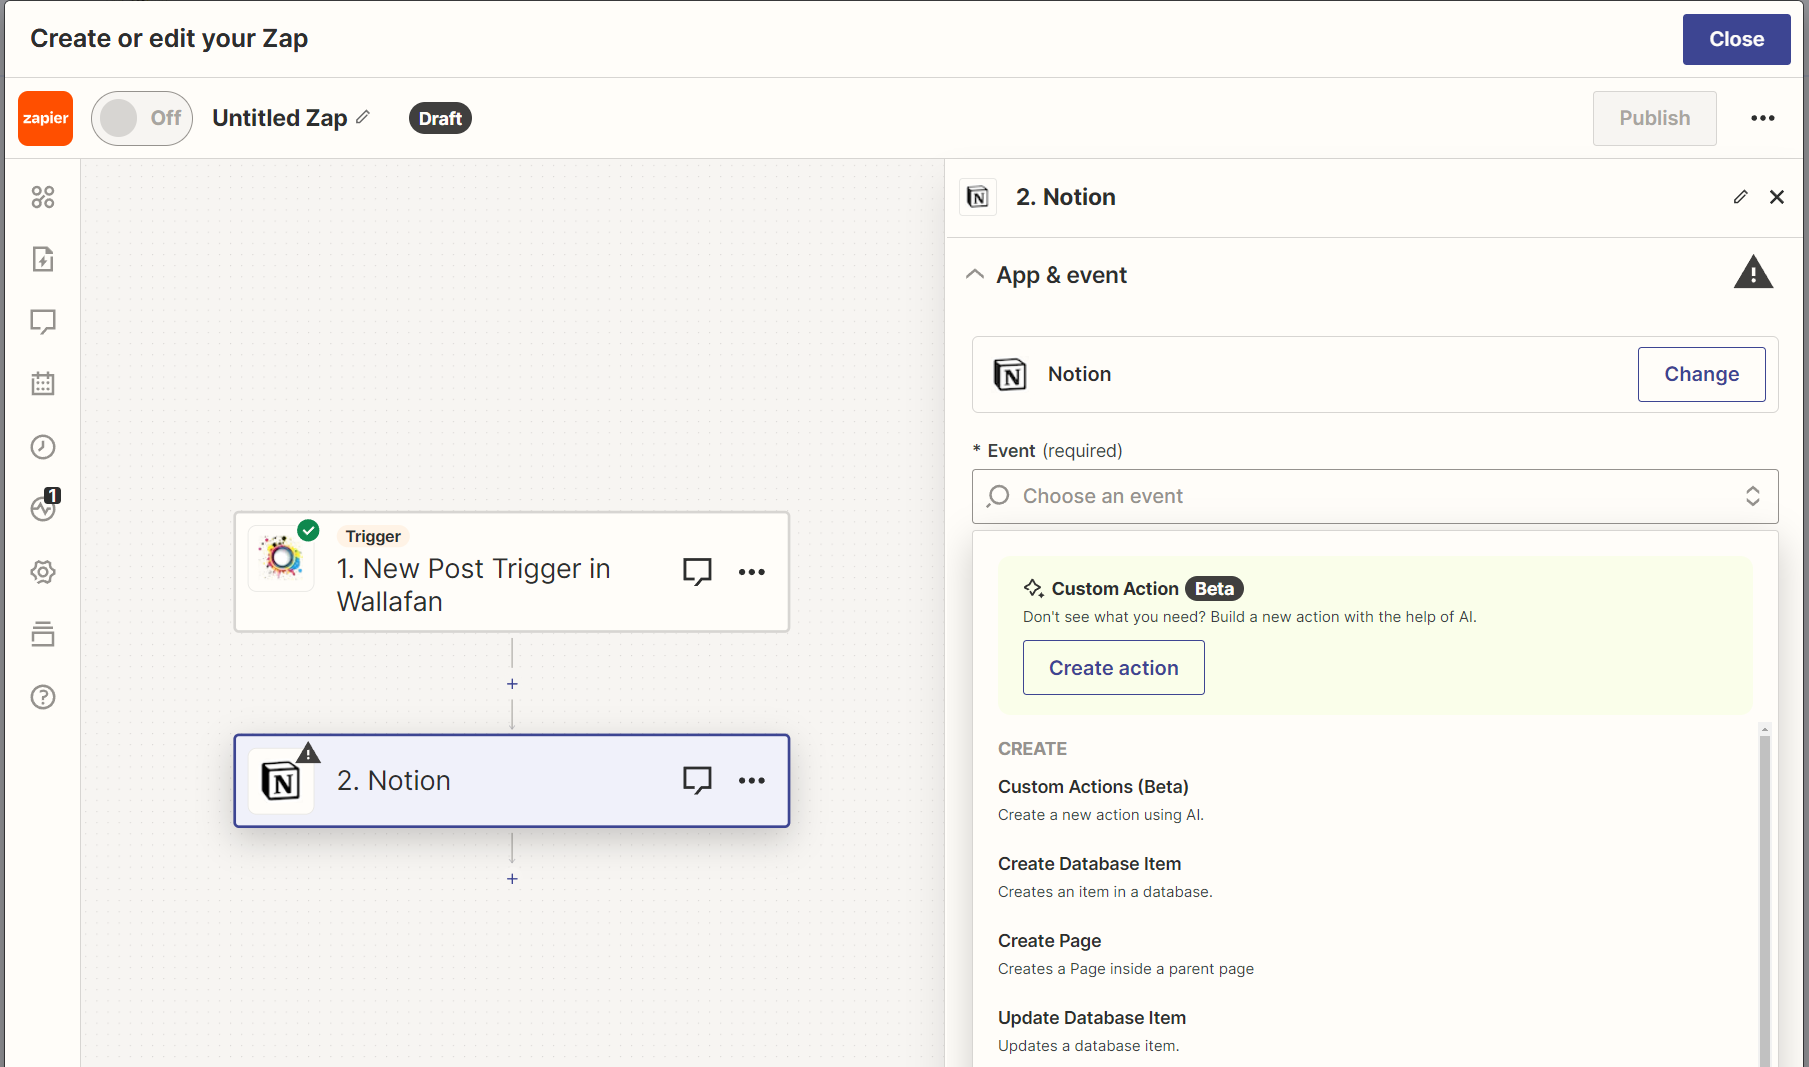
- Choose an App for the action. For example, select Google Sheets if you want to add new post details to a spreadsheet, or Notion if you want to store your posts on a Notion database to keep track of what you posted and where, or MailChimp if you want to subscribe a new follower to your mailing list and newsletter.
- Select an Action Event. Depending on the app you choose, this could be "Create Spreadsheet Row", "Send Email", or any other available action.
- Click Continue and sign in to the chosen app to connect it to Zapier.
- Set up the action. Match up the Wallafan post details (like platform or lock-type or text-content) or the follower's details (like Name or Email) to the fields in your chosen action app. Zapier will show you a list of fields from Wallafan's "New Post" or "New Follower" triggers; map these to the appropriate fields in the action app.
- Test the action to ensure it works as expected with the sample data from Wallafan.
Here is a sample of available fields that you can map for the "New Post" trigger:
{
 "platform": "Wallafan",
 "id": 123,
 "username": "SampleUser", //if you have multiple accounts, you can track which one you made the post from
 "text_content": "This is a sample post text to show the structure of post data.",
 "media_type": "Image", //it tells you if the post was only text or it had video, image or zip attachment
 "lock_type": "Paid", //it tells you if the post was free for all or only for subscribers
 "is_pinned": "No", //it tells you if the post got pinned
 "created_on": "2024-01-01",
 "time": "12:00 PM"
}
Here is a sample of available fields that you can map for the "New Product" trigger:
{
 "platform": "Wallafan",
 "your_account": "MyWallafanUsername",
 "product_id": 123,
 "product_name": "Name",
 "product_description": "Your Product Description",
 "product_price": "100.00",
 "product_stock": "10",
 "product_url": "https://wallafan.com/shop/product/MyWallafanUsername/1-Name",
 "created_on": "2024-01-01",
 "time": "12:00 PM"
}
Here is a sample of available fields that you can map for the "New Follower" trigger:
{
 "platform": "Wallafan",
 "name": "Name",
 "username": "Username",
 "email": "Email",
 "twitter": "Twitter Handle",
 "instagram": "Instagram Handle",
 "discord": "Discord Channel",
 "facebook": "Facebook Handle",
 "youtube": "YouTube Handle",
 "patreon": "Patreon Handle",
 "twitch": "Twitch Handle",
 "tiktok": "TikTok Handle",
 "accepted_at": "2024-01-31"
}
Step 4: Name and Turn On Your Zap
- At the top of the screen, give your Zap a name that describes its function, like "Save Wallafan Posts to Google Sheets", or "Subscribe a new follower to my MailChimp list".
- Turn on your Zap by clicking the toggle at the bottom of the screen.
Step 5: Monitor and Adjust
- After your Zap is live, monitor its activity from your Zapier dashboard. You can see when it runs and troubleshoot any issues.
- Adjust your Zap as needed. You can always go back and edit the Zap to fine-tune its triggers and actions.
Conclusion
You've now automated a workflow that starts with a new post on Wallafan. A good case scenario for the "New Post" trigger is when you want to keep track of all your posts in different platforms, so to avoid copycat posts or to measure their performance or to recycle content cross-platforms. The "New Follower" trigger can help you to keep track of your opted-in followers and to contact them for special offers, upsells etc.
Explore other integrations and workflows to maximize productivity and leverage the power of automation. Here are a few popular Zap templates for you to consider.
Requests
We are already working at V.2.0 with more triggers, actions and ready templates. If you need specific triggers or actions, we are ready to listen: please pop into our discord


